Sample player · Mirage
Four real
Mirage matches
Someone else's demos, already parsed. Ask them anything. Every answer is counted from the ticks in those files, never guessed.
Round lostRound won✕ = a death● filled = T side○ outline = CT side
Scanning · 97 rounds · 4 demos
✦
CountedYour most exploitable habit on Mirage
Mirage · 62 deaths · 4 demos
Your biggest tell on Mirage is deaths your team never trades: 49 of your 62 deaths went untraded - no teammate got the refrag. Each one costs your team about 20 points of round-win probability, against roughly half that when the death is traded.
◎
Fix: Fight inside a teammate's line of sight. If nobody can see the duel you're taking, the trade was never coming.
A14 deaths in the sample · 23% of all14×
CT Spawn8 deaths in the sample · 13% of all8×
Mid7 deaths in the sample · 11% of all7×
The ranking behind this answer, and what it stands on
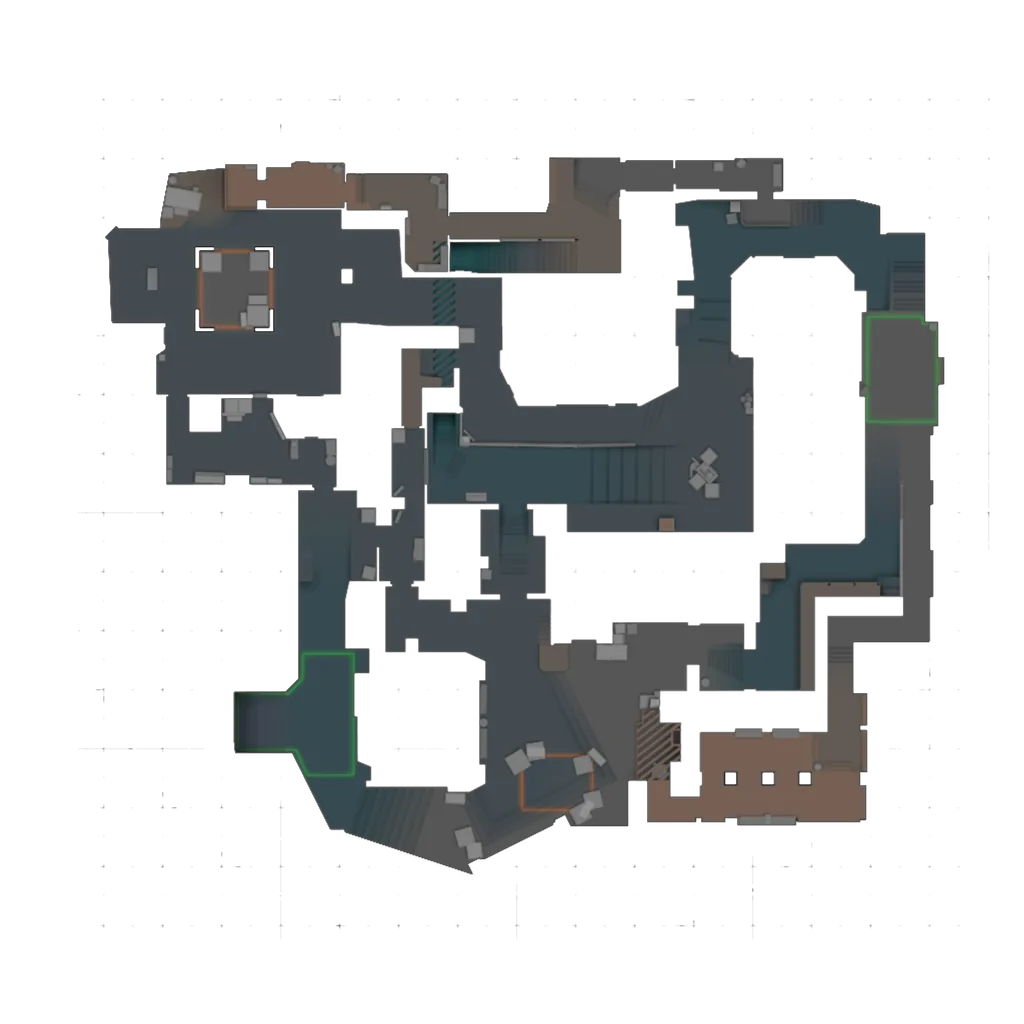
click any mark to watch that round · drag to pan · scroll to zoom · shift+drag to rotate
- Death · Jungle · T side · demo 1 round 2
- Death · Mid · CT side · demo 1 round 3
- Death · CT Spawn · CT side · demo 1 round 4
- Death · Catwalk · CT side · demo 1 round 7
- Death · Underpass · CT side · demo 1 round 8
- Death · CT Spawn · CT side · demo 1 round 13
- Death · Truck · T side · demo 1 round 14
- Death · Top of Mid · T side · demo 1 round 15
- Death · Underpass · T side · demo 1 round 16
- Death · A · T side · demo 1 round 17
- Death · B · T side · demo 1 round 18
- Death · Underpass · T side · demo 1 round 19
- Death · Palace Interior · CT side · demo 2 round 1
- Death · Mid · CT side · demo 2 round 2
- Death · CT Spawn · CT side · demo 2 round 2
- Death · CT Spawn · CT side · demo 2 round 3
- Death · CT Spawn · CT side · demo 2 round 7
- Death · B · CT side · demo 2 round 10
- Death · B · CT side · demo 2 round 11
- Death · Catwalk · T side · demo 2 round 16
- Death · Top of Mid · T side · demo 2 round 17
- Death · Mid · T side · demo 2 round 18
- Death · Palace Alley · T side · demo 2 round 19
- Death · Top of Mid · T side · demo 2 round 20
- Death · Apartments · T side · demo 2 round 21
- Death · Palace Alley · T side · demo 2 round 22
- Death · Mid · T side · demo 2 round 23
- Death · B · T side · demo 2 round 24
- Death · A · T side · demo 2 round 26
- Death · CT Spawn · CT side · demo 2 round 30
- Death · B · CT side · demo 2 round 31
- Death · A · T side · demo 3 round 1
- Death · B · CT side · demo 3 round 2
- Death · Stairs · CT side · demo 3 round 4
- Death · Jungle · CT side · demo 3 round 5
- Death · Connector · CT side · demo 3 round 8
- Death · A · CT side · demo 3 round 9
- Death · Mid · CT side · demo 3 round 10
- Death · Underpass · CT side · demo 3 round 12
- Death · A · CT side · demo 3 round 13
- Death · T Ramp · T side · demo 3 round 16
- Death · B · T side · demo 3 round 17
- Death · Mid · T side · demo 3 round 18
- Death · A · T side · demo 3 round 19
- Death · Mid · T side · demo 3 round 21
- Death · A · CT side · demo 4 round 1
- Death · Connector · CT side · demo 4 round 2
- Death · A · T side · demo 4 round 3
- Death · CT Spawn · T side · demo 4 round 4
- Death · Palace Alley · T side · demo 4 round 5
- Death · Top of Mid · T side · demo 4 round 6
- Death · A · T side · demo 4 round 7
- Death · Catwalk · T side · demo 4 round 9
- Death · Apartments · T side · demo 4 round 11
- Death · A · T side · demo 4 round 12
- Death · Back Alley · T side · demo 4 round 13
- Death · Connector · CT side · demo 4 round 14
- Death · A · CT side · demo 4 round 16
- Death · A · CT side · demo 4 round 20
- Death · A · CT side · demo 4 round 21
- Death · CT Spawn · CT side · demo 4 round 22
- Death · A · CT side · demo 4 round 23